Browse using the new Vinous website now. Launch →
Printed by, and for the sole use of . All rights reserved © 2015 Vinous Media
C Is for COOKIES
BY ERIC GUIDO | OCTOBER 02, 2020
It had to happen sooner or later. This seemed like the perfect opportunity to bring cookies to Vinous in The Kitchen, at a time when families are home and projects with the kids make for a great way to spend quality time together. Even as someone who has been gluten-free for nearly a decade and stays far away from sweets, when my daughter came to me and asked if I would make her my “Famous” chocolate chip and peanut butter cookies, I couldn’t resist. Because the fact is, even if I can’t enjoy them myself, I take great pleasure in sharing them and watching her eyes light up. Let’s face it, making cookies from scratch has become something of a lost art. We all loved the mom or aunt who made them and shared around the holidays, yet the average person seldom makes cookies themselves. My goal is to change that today.
As for the term “Famous”, it’s not something I added, but instead a term that came to be used within my family from friends, neighbors and any teacher or student my kids have shared them with over the years. The best part is that you can cut these recipes in half or even double them with the same results and supply all of your friends with gift bags of wholesome homemade cookies. Or do you want to keep them all for yourself? No problem; just freeze any portion for up to three months and, at any time, whip out a secret cookie weapon to make without any hassle.
I’m often hounded for these recipes, which were developed over the last fifteen years since culinary school, and the most common thing I hear is, “What’s the secret ingredient?”
The answer is twofold. Salt is the first secret. Or, should I say, properly seasoning them to bring out, complement or contrast the flavors of the main ingredients. My chocolate chip cookies will play a game of tug of war on your palate, blending the sweetness of sugar, richness of butter and savoriness of dark chocolate together with a subtle kick of salty goodness. The second secret should be no secret at all, and that’s the quality of the ingredients. I think this makes the most difference with the peanut butter cookie recipe when picking out the right peanut butter to use. Look at the ingredients because there is really no reason why the only ingredient shouldn’t just be peanuts alone. Granted, a little salt or peanut oil is okay too, but if your choice has more than three ingredients - look elsewhere.
As for pairings, you’d be amazed at how well a glass of Sauternes goes with cookies, a balance of acid and sweetness, which is the key to a proper pairing here. Another is Demi-Sec Champagne, which adds the cleansing effect of acids and bubbles with a hint of gentle sweetness. For me, I would go for a black cup of rich coffee; talk about complementing flavors. As for the kids, who would turn down a glass of milk?
The video tutorial is packed full of hints and tips to create the perfect cookies.
Chocolate Chip Cookies
Ingredients (Makes about 24 cookies):
Tools you’ll need: two sheet pans lined with parchment, two cookie cooling racks, a silicon spoon or scraper, a disher or ice cream scooper and two mixing bowls.
300 grams flour
6 grams baking soda
6 grams salt
150 grams white sugar
140 grams brown sugar
2 sticks unsalted butter (melted and cooled)
40 grams egg yolks
2 teaspoons vanilla extract
340 grams chocolate chips (about 2 cups)
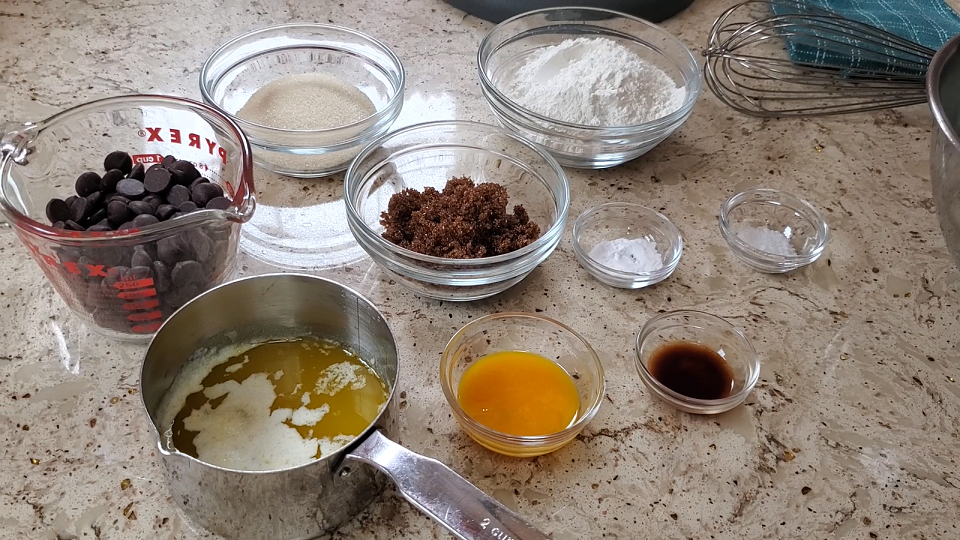
Prep the chocolate chip cookie ingredients.
The Process:
1. Preheat your oven to 375 degrees.
2. Combine the white and brown sugar in a mixing bowl and, while stirring, add in the melted butter.
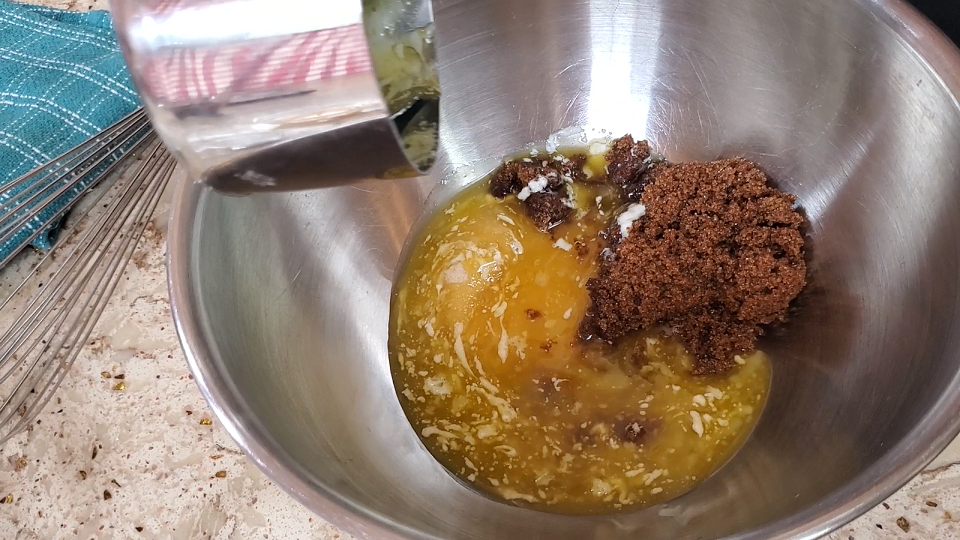
Combine the white and brown sugar in a mixing bowl and, while stirring, add in the melted butter.
3. Stir until this mixture combines completely and becomes smooth and lighter in color.
4. Add the eggs yolks, salt and vanilla extract to the bowl while stirring to combine.
5. In a second bowl, mix the flour and baking soda together. You can whisk or shift the mixture to combine properly.
6. Next, pour the flour and baking soda mixture into the bowl with your wet ingredients, and stir thoroughly to combine.
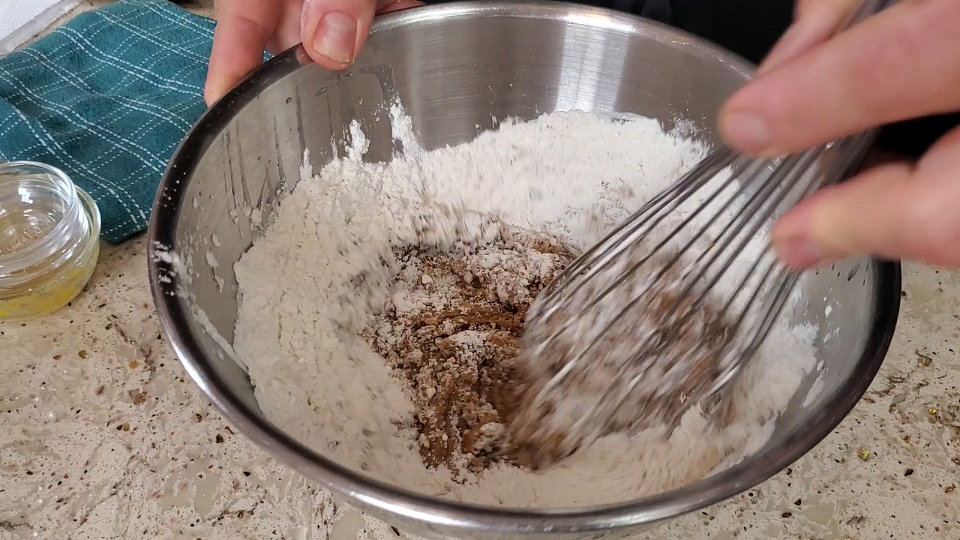
Combine the flour and baking soda mixture with your wet ingredients.
7. Add your chips and stir. This can be a bit difficult at first but try to get a good consistency of chip-to-batter.
8. Using a disher (or ice cream scooper), portion out the batter onto your sheet pans. This recipe should make about 24 cookies. (You can also freeze your batter for later use.)
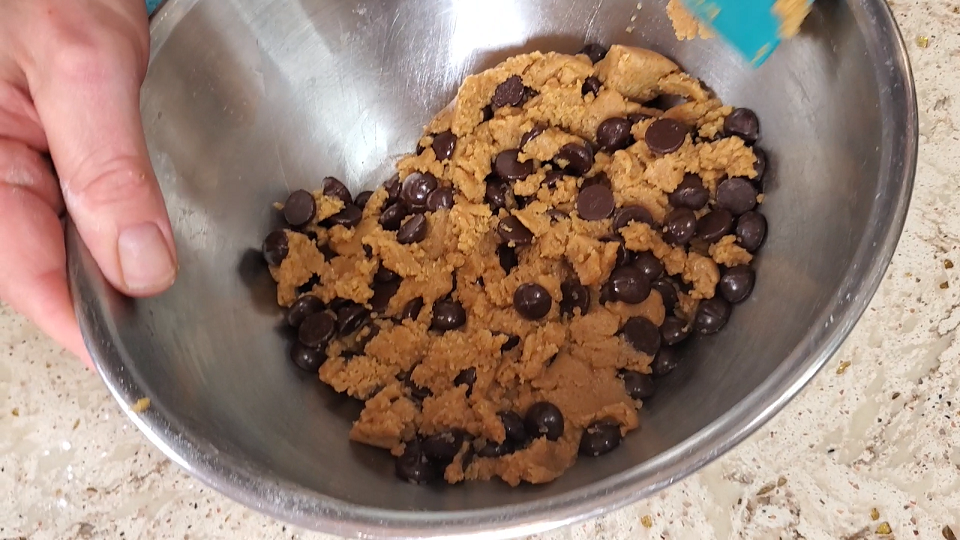
Stir chocolate chips into the batter.
9. Round up any cookies on the pan that did not come out in a solid half-ball shape with your hands to make them uniform.
10. Place the racks into your oven and set a timer for seven minutes.
11. Once the seven minutes are up, rotate the pans. Top to bottom and vice versa and set your alarm for another eight minutes.
12. When the alarm goes off, check the cookies. They should be golden on top and slightly browner around the edges. If this is the case, take them out and allow them to sit on the baking sheet for another two minutes outside of the oven.

Remove cookies from oven and place on a wire cooling rack.
13. Carefully move the cookies to a wire cooling rack and allow them to cool for another hour before serving and enjoy.
14. These cookies should keep well in an airtight container for four to five days.
Peanut Butter Cookies
Ingredients (Makes about 24 cookies):
Tools you’ll need: A stand mixer with a paddle attachment, two sheet pans lined with parchment, two cookie cooling racks, a disher or ice cream scooper, a fork a silicon spoon or scraper and one mixing bowl.
255 grams flour
6 grams baking soda
5 grams salt
170 grams unsalted butter (1 ½ sticks), cubed and brought to room temperature
142 grams granulated sugar (plus extra for sprinkling over the cookies)
142 grams brown sugar
40 grams or a ¼ cup peanut oil
284 grams chunky peanut butter
75 grams eggs
1 teaspoon vanilla extract
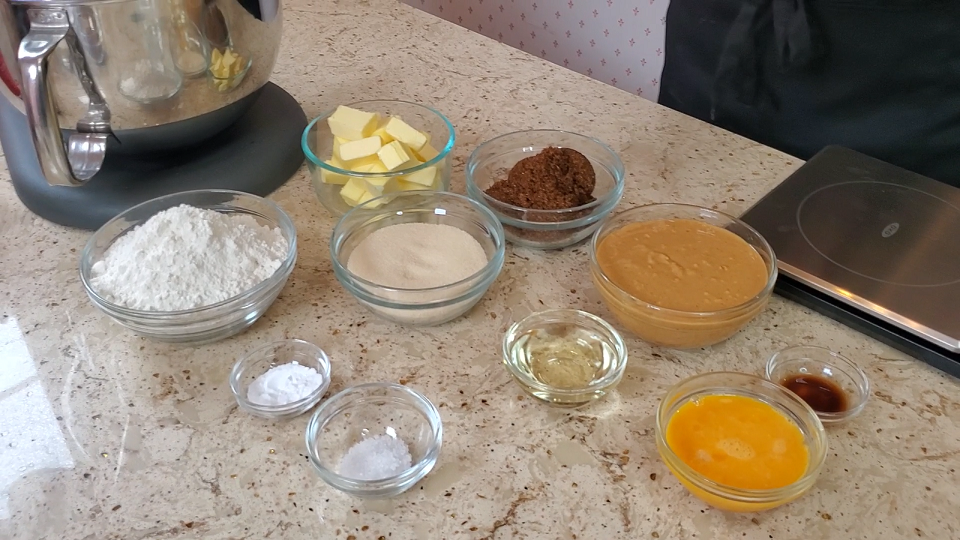
Prep the peanut butter cookie ingredients.
The Process:
1. Place the butter in a stand mixer with a paddle attachment and mix on medium to break the butter down and coat the sides.
2. Add the white and brown sugar to the stand mixer and continue to stir raising the speed to high.
3. After two minutes, turn off the blender and scrape down the sides. Put the blender speed back on high.
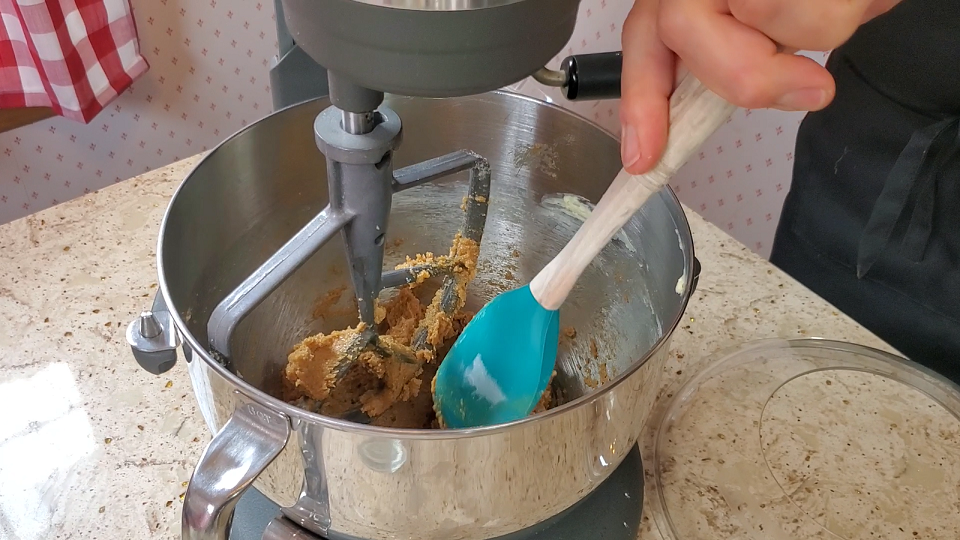
Scrape down the sides and continue mixing.
4. Continue like this for two more minutes until the mixture lightens significantly in color and becomes lighter-looking in texture as well.
5. Turn off your mixer and add the peanut butter and peanut oil. Place the mixer on medium speed for one minute.
6. Now add the eggs, salt and vanilla extract and continue mixing on low.
7. In a second bowl, mix the flour and baking soda together. You can whisk or shift the mixture to combine properly.
8. Next, turn off your stand mixer and pour the flour and baking soda mixture into the bowl of the stand mixer.
9. Begin stirring on low, and slowly bring it to high as the mixture combines.
10. Mix like this for two to three minutes until the batter reaches a consistency that resembles a dough.
11. Place this into a mixing bowl, cover it lightly with plastic wrap and place into your refrigerator for a ½ hour to cool.
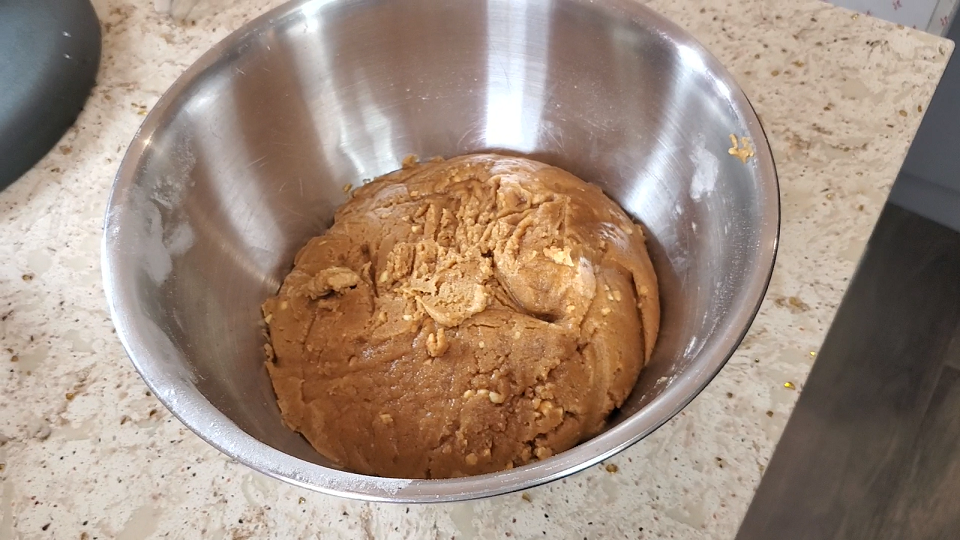
Cover the dough lightly with plastic wrap and place into your refrigerator for a ½ hour to cool.
12. Preheat your oven to 350 degrees.
13. Once the half-hour is over, take the batter from the refrigerator and use a disher (or ice cream scooper) to portion it out onto your sheet pans. This recipe should make about 24 cookies. (You could also freeze your batter for later use.)
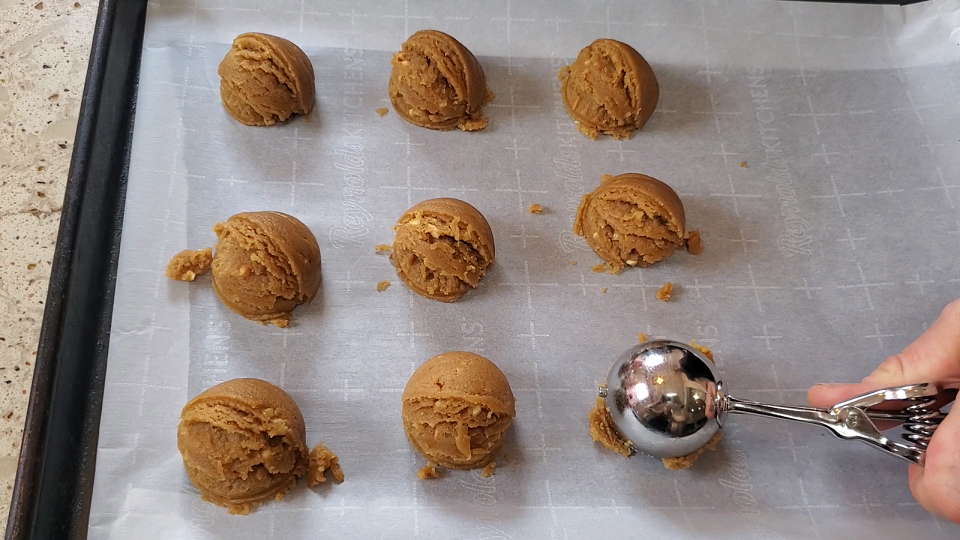
Remove the dough from the fridge and use a disher (or ice cream scooper) to portion it out onto your sheet pans.
14. Round up any cookies on the pan that did not come out in a solid half-ball shape with your hands to make them uniform.
15. Use a fork, create a crosshatch pattern on the top of each cookie by gently pressing down on the cookie with the tongs of the fork. Rotate the fork 90 degrees and do the same again.

Create a crosshatch pattern using a fork and sprinkle sugar over each cookie.
16. Sprinkle each cookie with granulated sugar.
17. Place the racks into the oven and set a timer for seven minutes.
18. Once the seven minutes are up, rotate the pans. Top to bottom and vice versa and set your alarm for another eight minutes.
19. When the alarm goes off, check the cookies. They should be golden on top and slightly browner around the edges. If this is the case, take them out and allow them to sit on the baking sheet for another two minutes outside of the oven.
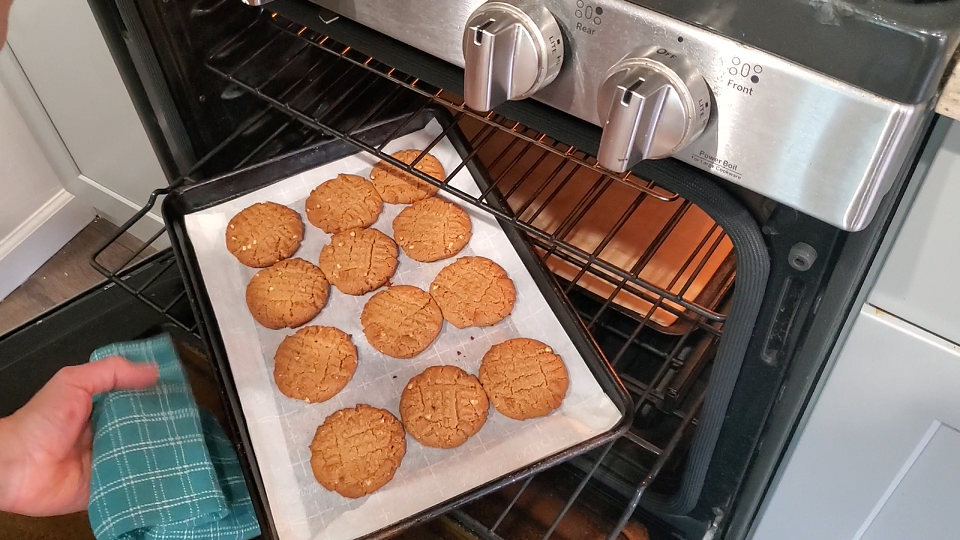
Remove cookies from the oven and allow to cool on a wire cooling rack.
20. Carefully move the cookies to a wire cooling rack and allow them to cool for another hour before serving and enjoy.
21. These cookies should keep well in an airtight container for four to five days.